Every once in a while, I start something and just want to give up. You know that feeling where absolutely nothing is going right. Maybe it's the day when you get home from graduate school, which you went to after work, and all you have the energy to do is microwave the last bit of leftovers from a previous dinner. Then, when you're carrying the hot bowl across the floor because, really, you can't be expected to wait two minutes for it to cool down, you drop it, sending your dinner flying across the floor. And you think, maybe I wasn't meant to eat dinner tonight after all.
That's how I felt with these cannelloni.
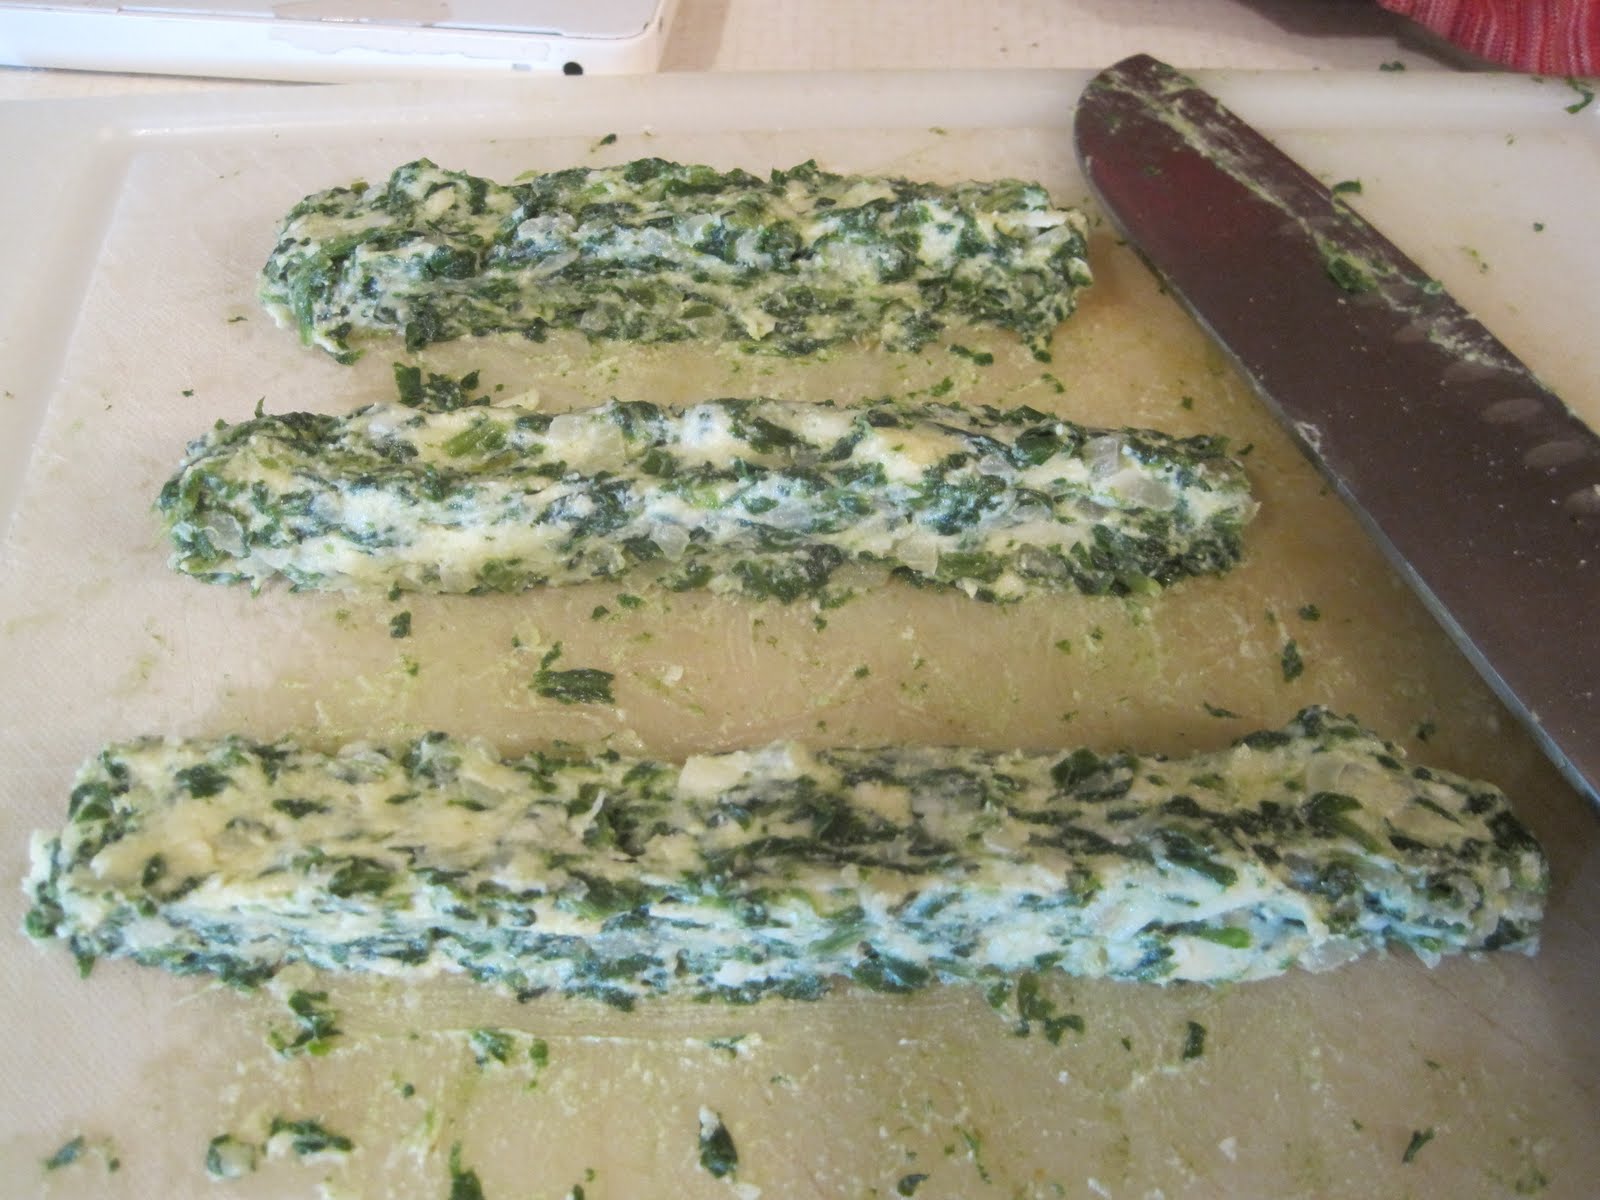
It all started with the swiss chard filling. I put my onions on to caramelize in my hot July kitchen, and an hour later, they weren't even close to the color or taste I desired. I sauteed down the swiss chard, which disappeared into almost nothingness in the pan, nowhere near enough to fill pans of cannelloni. Then, I added the mascarpone and parmesan. They seemed like such a good addition as I was measuring them out, but once mixed in, they gave the whole mixture this unusual pinkish color. I threw in an egg to bind the mixture together, and immediately regretted it. The whole mixture looked a little
slimy.
I responded by hurriedly pouring the filling into a jar before it had cooled and putting it in the fridge. Then I deleted almost every picture of the swiss chard filling from my camera because I just knew it wasn't going to work. I almost threw the filling in the trash.
But when I woke up the next morning, my pasta maker was calling to me from the top of our kitchen cabinets.
It's been so long since you've made homemade pasta, the little voice echoed.
So, forgetting everything that had transpired the day before, I climbed up on a stool and got it down. And, somehow, my luck began to change. The pasta dough came together beautifully. It rolled out in somewhat even sheets that were easy to cut. The cannelloni squares boiled up in less than two minutes and became even easier to work with as they sat and dried a bit. My tomato sauce benefited from the simple addition of onion and butter. And making the cannelloni was much easier than making the shrimp tortellini I had attempted for my first homemade pasta recipe.

I prepared three fillings for the cannelloni, out of necessity, really. My swiss chard filling didn't fill as many cannelloni as I originally intended, so I whipped up a quick tomato, onion and mascarpone filling. When they ran out, I mixed some boiled peas with mascarpone so that I could use up the leftover noodles. By the time I finished, I had three pans of cannelloni: one for dinner that night and two to freeze up for future consumption.
The real test came at dinner that night.
I pulled the cannelloni out of the oven after a 20-minute cook. The sauce bubbled. The parmesan grated on top was browned. I slid the cannelloni out of the pan and onto my plate, being sure to scrape up all the extra sauce. I sliced into the cannelloni with my knife and took my first bite.
Perhaps they weren't such a disaster after all.